Guide 7 of 8 · Lab · 5 steps
Compare takes and keep one
Takes pile up on the Lab’s rail. Compare them on the stage, star the ones worth a second look, and send one to its shot: the only move that places a take in its shot.
- At the end
- One take placed in its shot and chosen in the cutting room; every other take still on the rail, with its cost.
- Before you start
- Takes in the Lab. The sample channel has five: the studio’s recorded style test of its mascot.
- A production with a shot list (guide 3).
Read the rail
Under the stage runs the rail of takes, newest first. Each take shows its model and what it cost. Filter it with All, by kind, or with Starred.
A take that failed, or whose outcome is uncertain, stays on the rail and says so: Kiju never sends a paid request twice on its own.
 (Open the full picture)
Compare on the stage
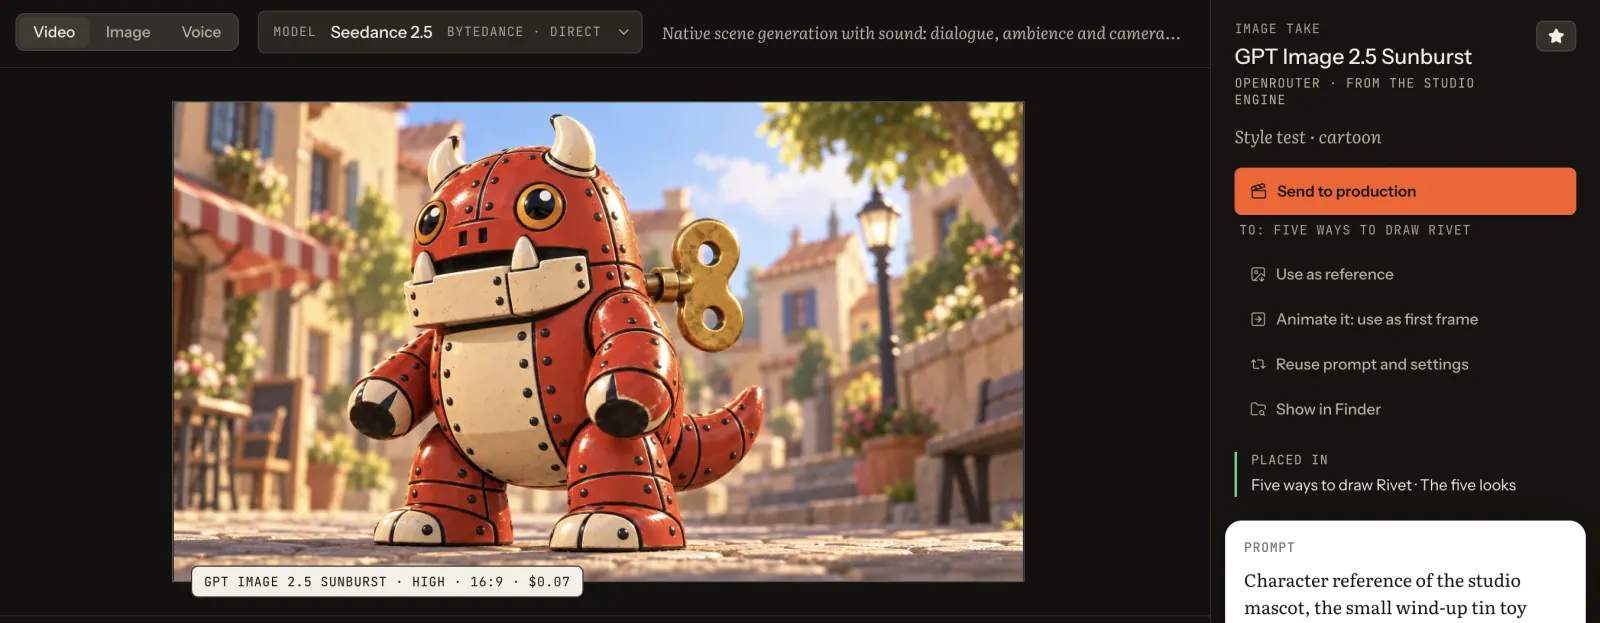
Select a take on the rail. It fills the stage, with its slate under the picture: model, quality, ratio and cost.
Compare by selecting the next take. The stage swaps the picture and the slate follows, so two takes are always judged at the same size, on the same neutral ground.
 (Open the full picture)
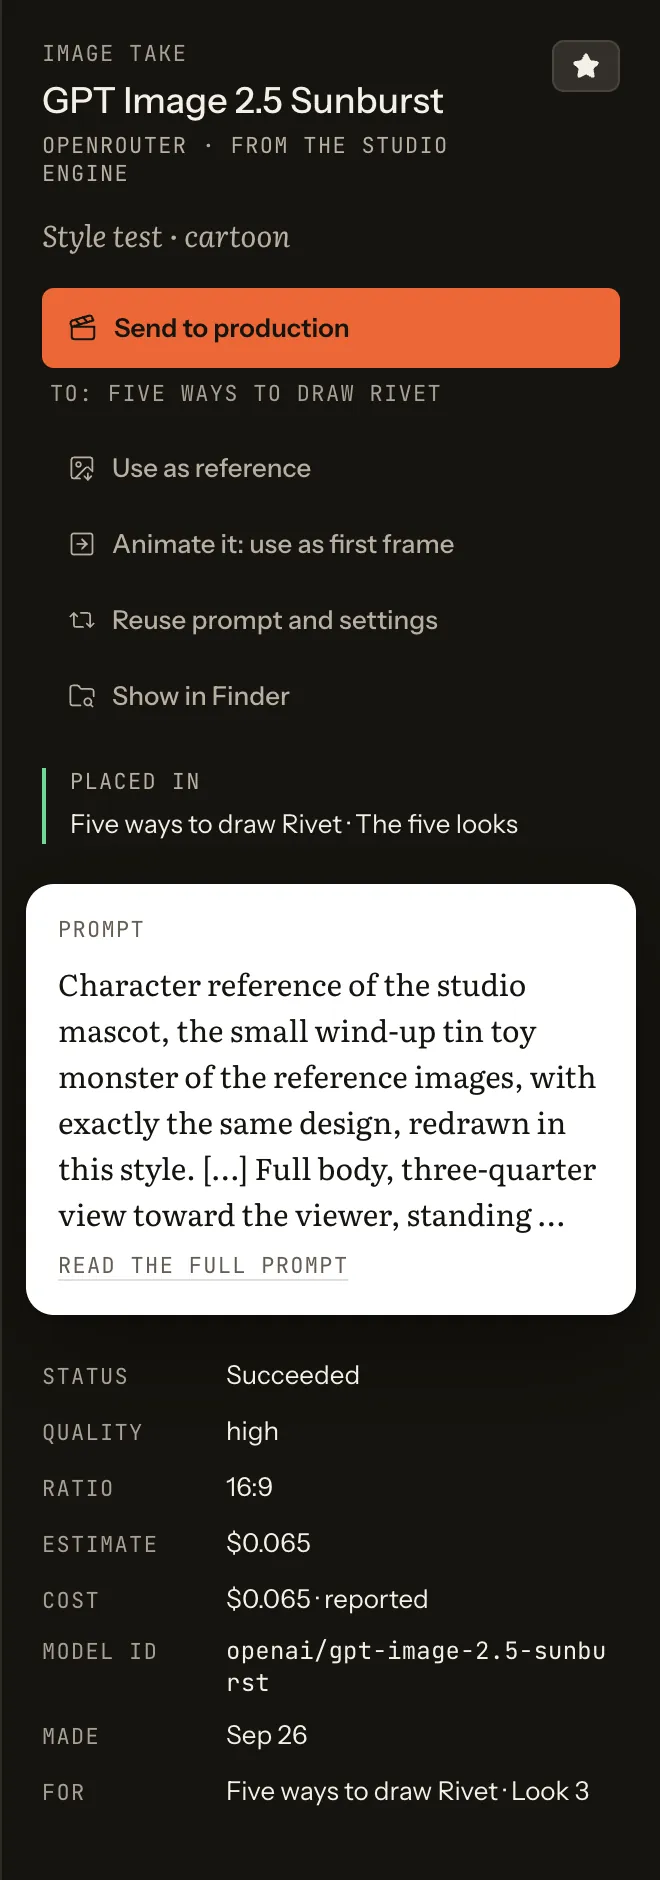
To see where a take came from, read its paperwork on the right. It holds the prompt, the model id, the cost the provider reported, the day it was made and the shot it was made for. Read the full prompt opens the prompt in full.
Show the take’s full paperwork
Star the ones worth a second look
Press the star in the corner of the paperwork to mark a take (Star). Starred on the rail then shows only those. A star is a shortlist, not a decision: nothing moves.
Send one to its shot
Press Send to production. The production’s shot list opens under the stage.
 (Open the full picture)
Pick the production, then the shot. The take lands in the shot’s slot (the desk calls this the Splice), and the line reads “Placed · The street goes dark · shot 1.1”. Changed your mind? Press Undo.
 (Open the full picture)
When no shot fits, New shot files the take with the Lab selects. Thumbnail makes the still the production’s picture on the channel’s board. Compare and place one here, with the five recorded takes:
Try it hereIllustration
Compare the five takes, star one, then send it to shot 1.1.
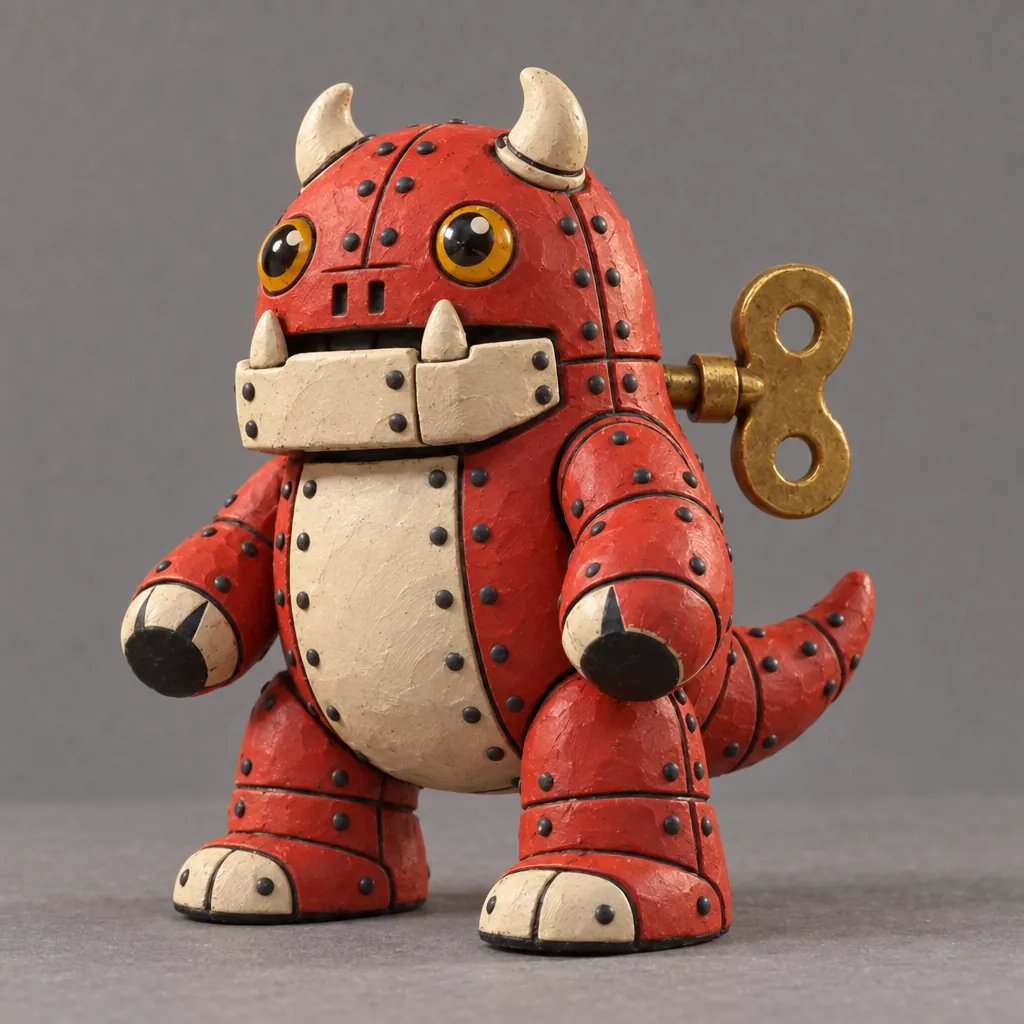
GPT Image 2.5 Sunburst · high · 1:1Style test · clay
Image take
GPT Image 2.5 Sunburst
Style test · clay
$0.077412 · reported
Made by Tin Kaiju, the studio behind Kiju, with the studio’s engine on 2026-09-26; brought into the sample channel.
Behaves like the desk’s control. This page saves nothing and sends nothing.
See it in the cutting room
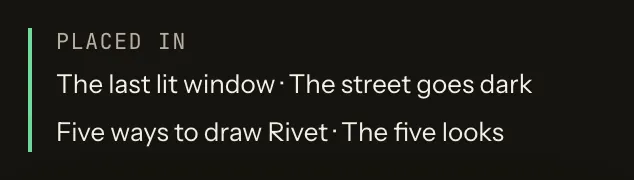
The take’s paperwork now reads “Placed in”, on a mint line: mint is only ever what a person kept.
 (Open the full picture)
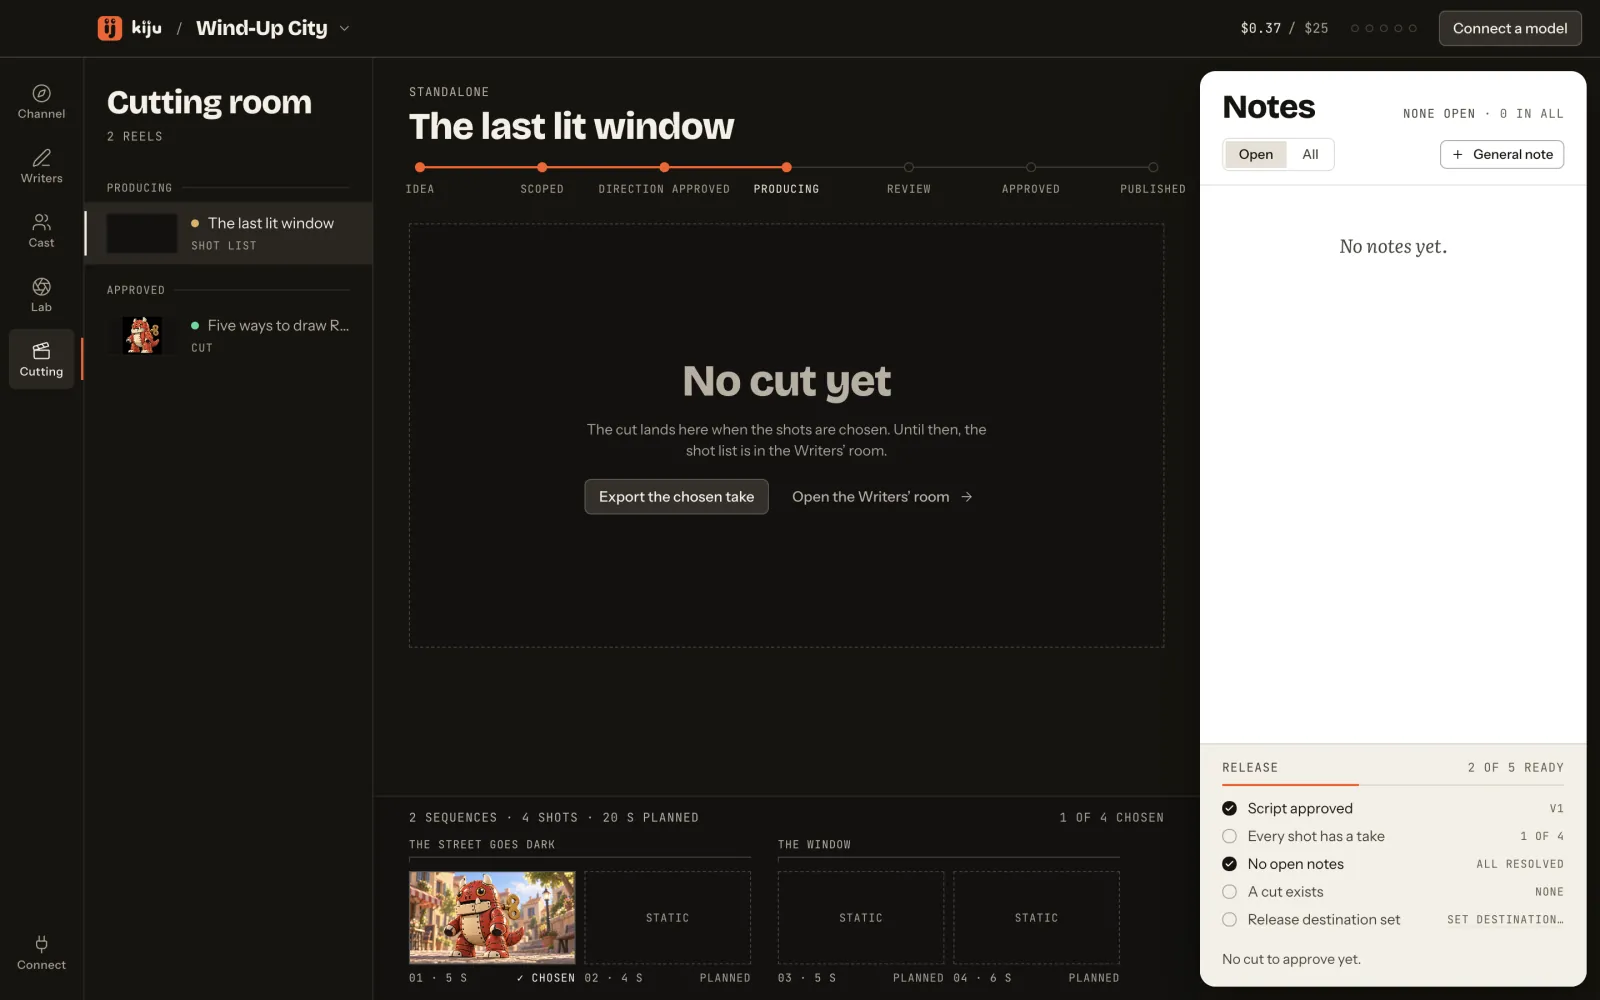
Press Open in the cutting room. There the shot reads “✓ Chosen”. To change your mind later, open the shot’s takes and Select another one. The other takes stay on the rail, with their cost.
 (Open the full picture)